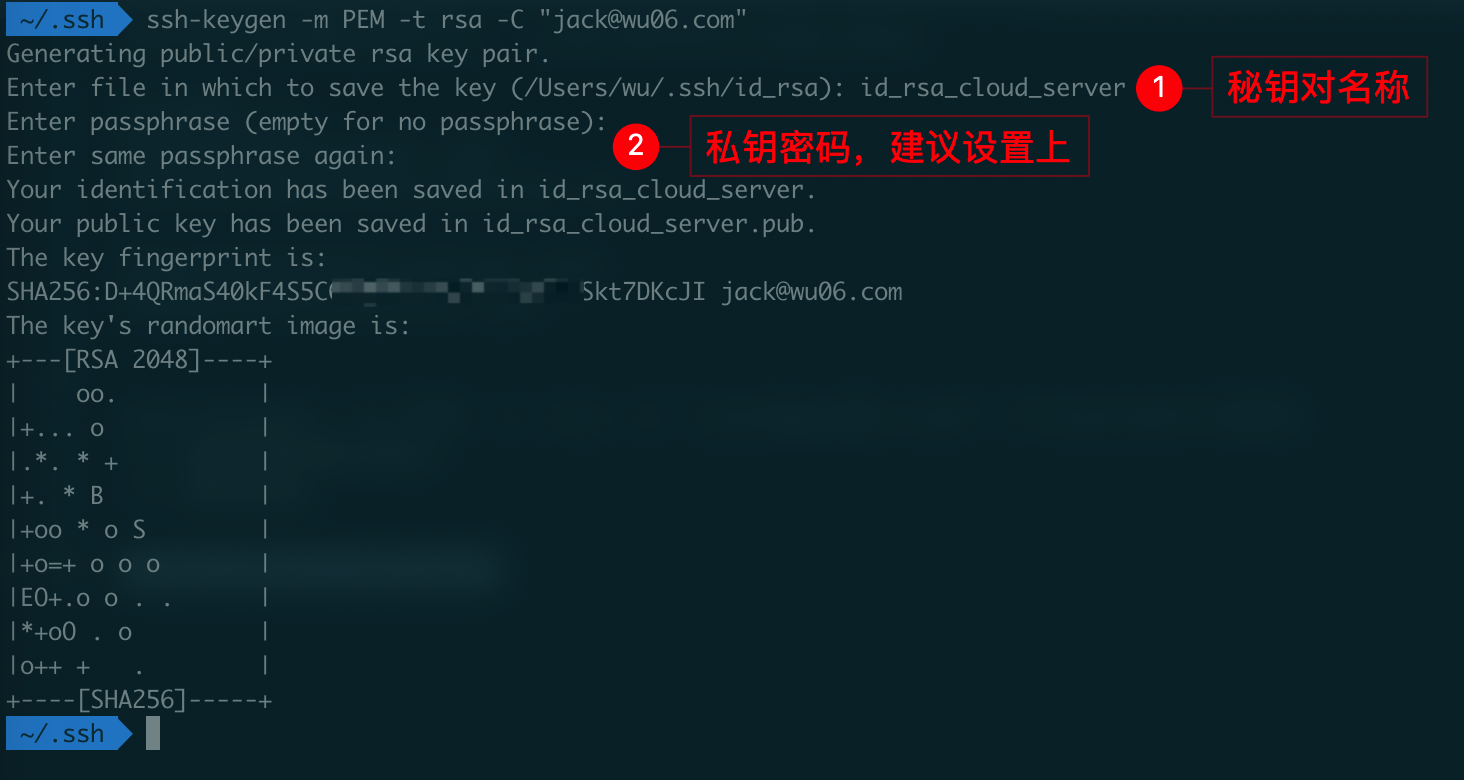
1. 生成密钥
# 会要求输入密钥对名称和私钥密码,密码建议设置上
# 完成之后会生产两个文件:
# id_rsa_cloud_server.pub 公钥
# id_rsa_cloud_server 秘钥
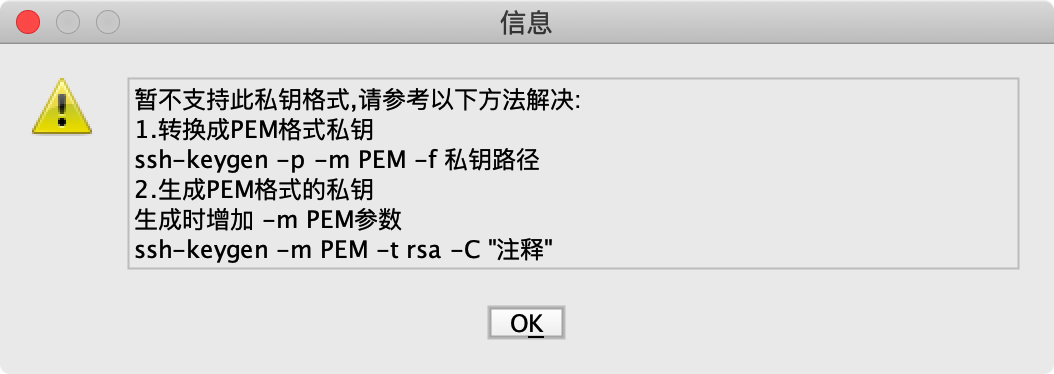
# 使用PEM格式是因为我用的shell远程工具的只支持PEM格式秘钥,可以不加
ssh-keygen -m PEM -t rsa -C "jack@wu06.com"
-m 参数指定输出格式; -t 密钥类型; -C 识别秘钥的注释,出现在结尾
2. 上传公钥&将公钥添加到远程Linux服务器
2.1 添加 .ssh 和 .ssh/authorized_keys
如果系统存在 .ssh/authorized_keys 则跳过此步骤
mkdir -m 700 .ssh
touch .ssh/authorized_keys
chmod 600 .ssh/authorized_keys
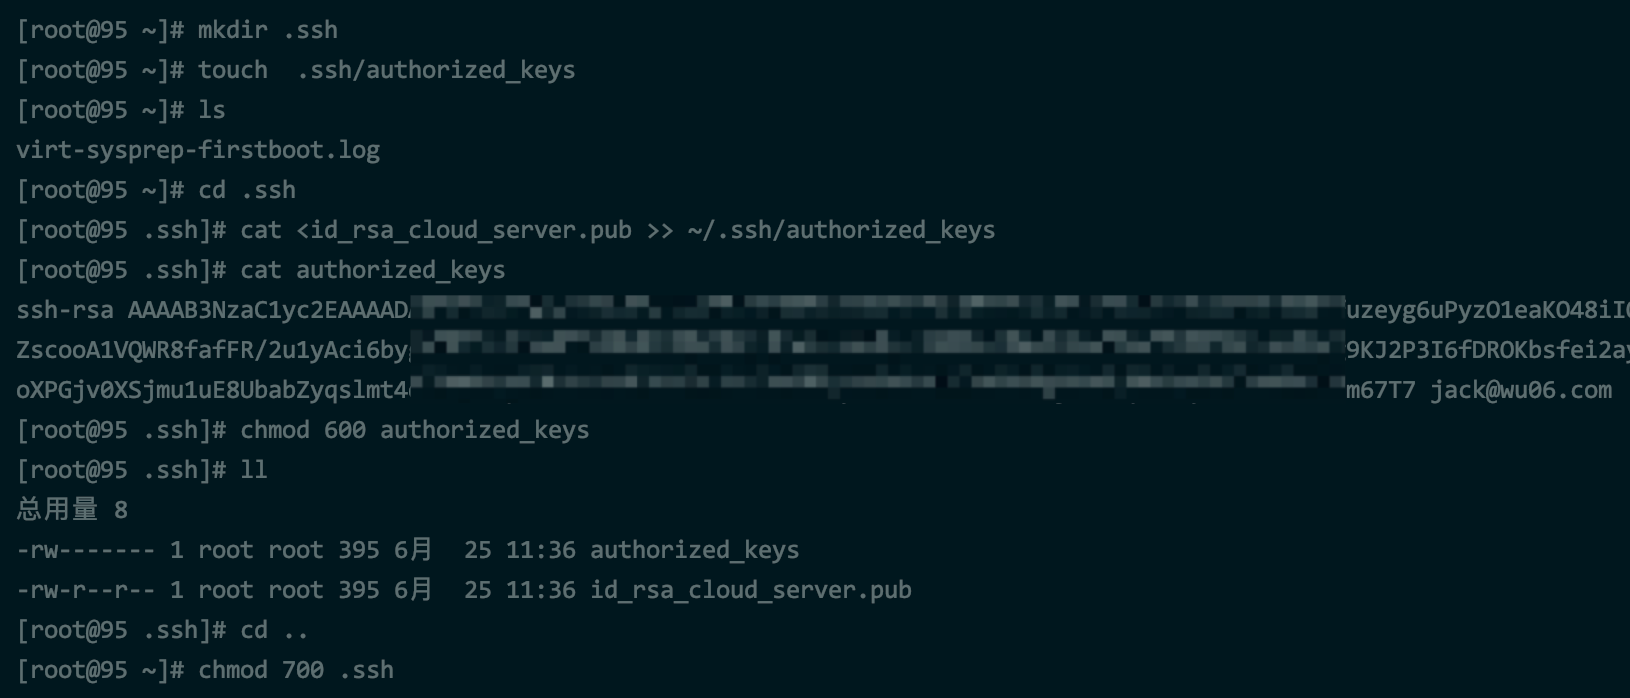
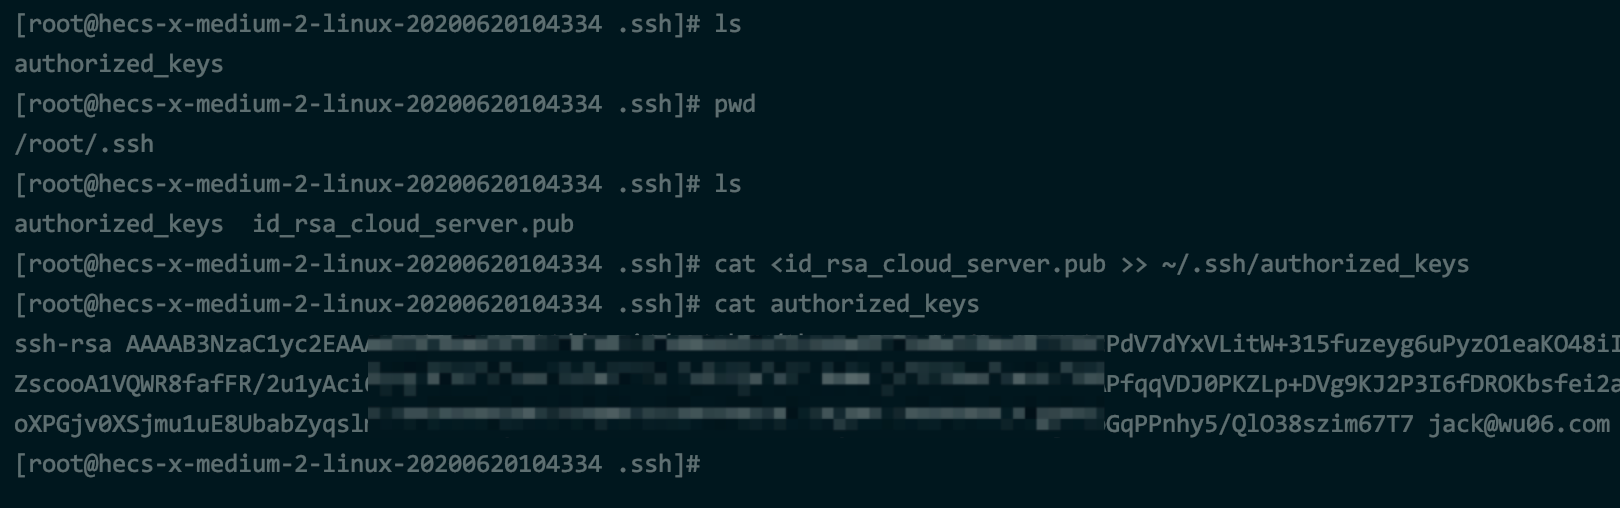
2.2 将公钥添加到 .ssh/authorized_keys
cat <id_rsa_cloud_server.pub >> ~/.ssh/authorized_keys
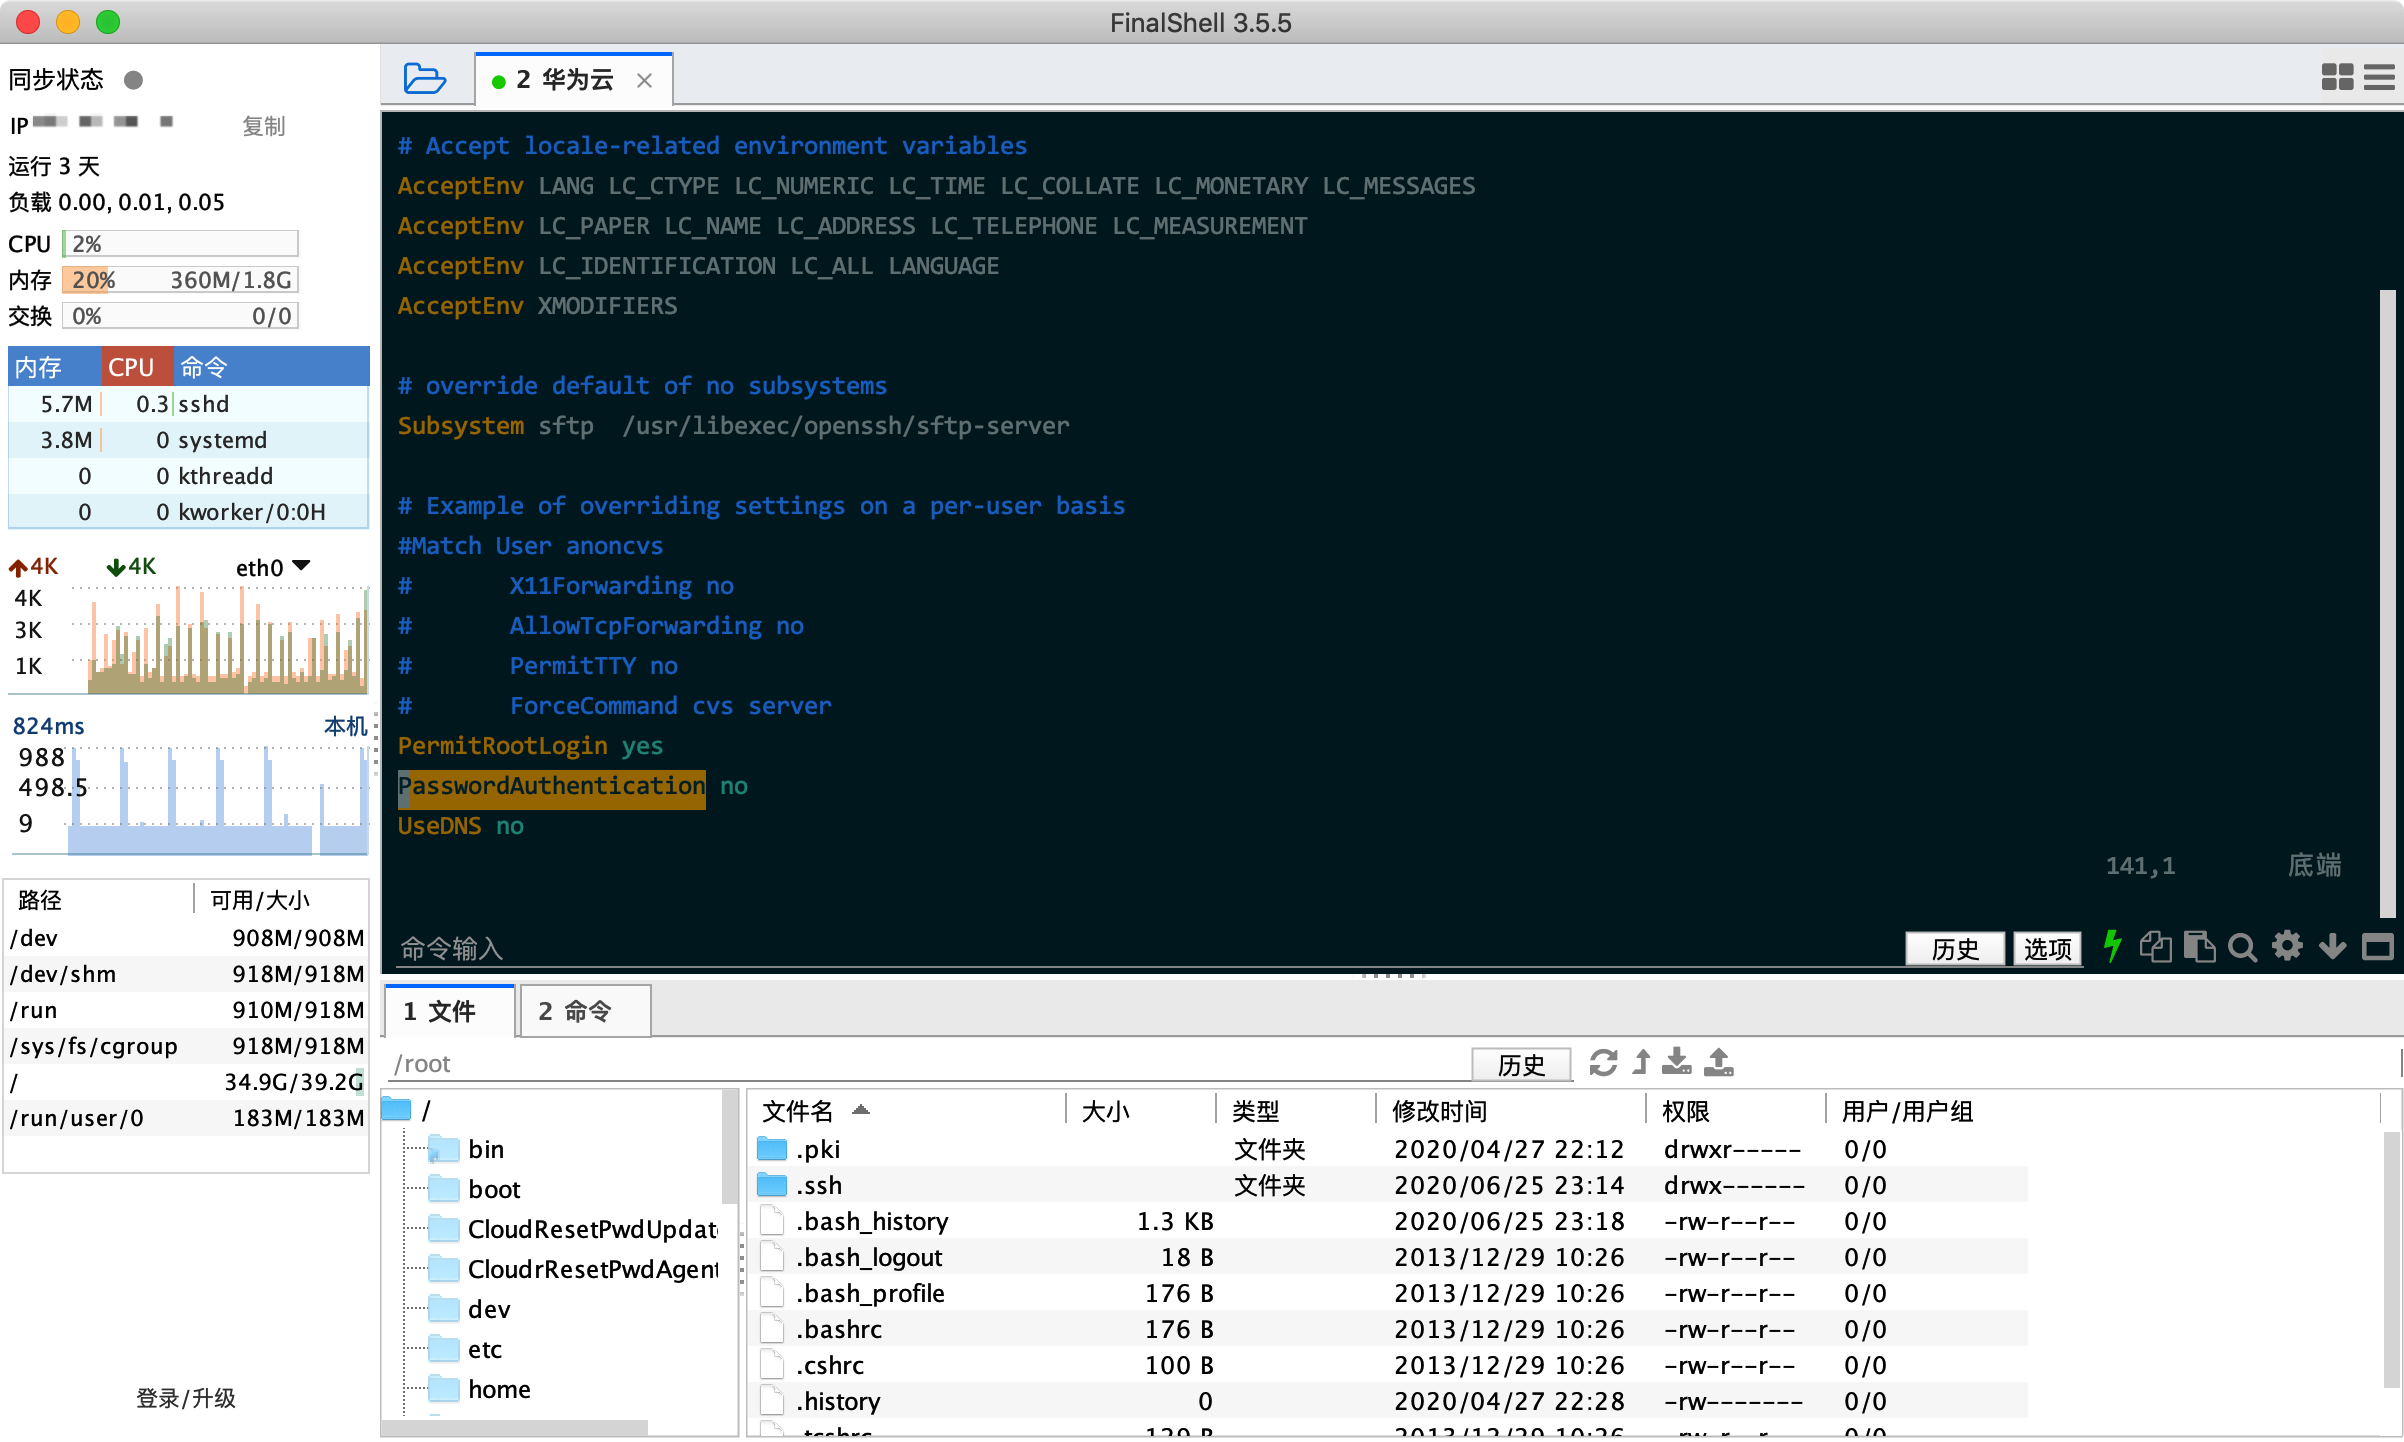
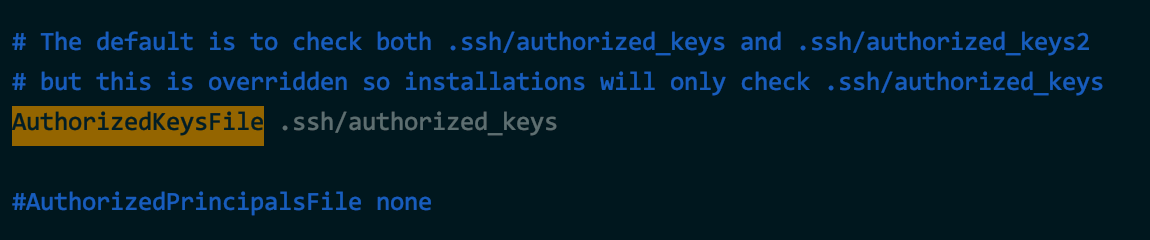
3. 修改 /etc/ssh/sshd_config 配置文件
AuthorizedKeysFile .ssh/authorized_keys # 公钥验证文件的路径
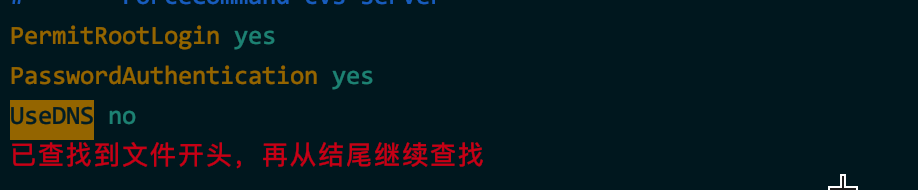
UseDNS no # 是否使用dns反向解析
PermitRootLogin yes # 能不能直接以超级用户ssh登录,root远程登录
PasswordAuthentication no # 是否开启密码验证机制,密码登录在测试密钥可以登录之后,需要改成 no
PubkeyAuthentication yes # 是否开启公钥验证
RSAAuthentication yes # 是否开启RSA密钥验证

4. 重启 sshd 服务
# centos 7
systemctl restart sshd.service
# 其他
/etc/init.d/sshd restart
或
service sshd restart
5. 测试密钥登录
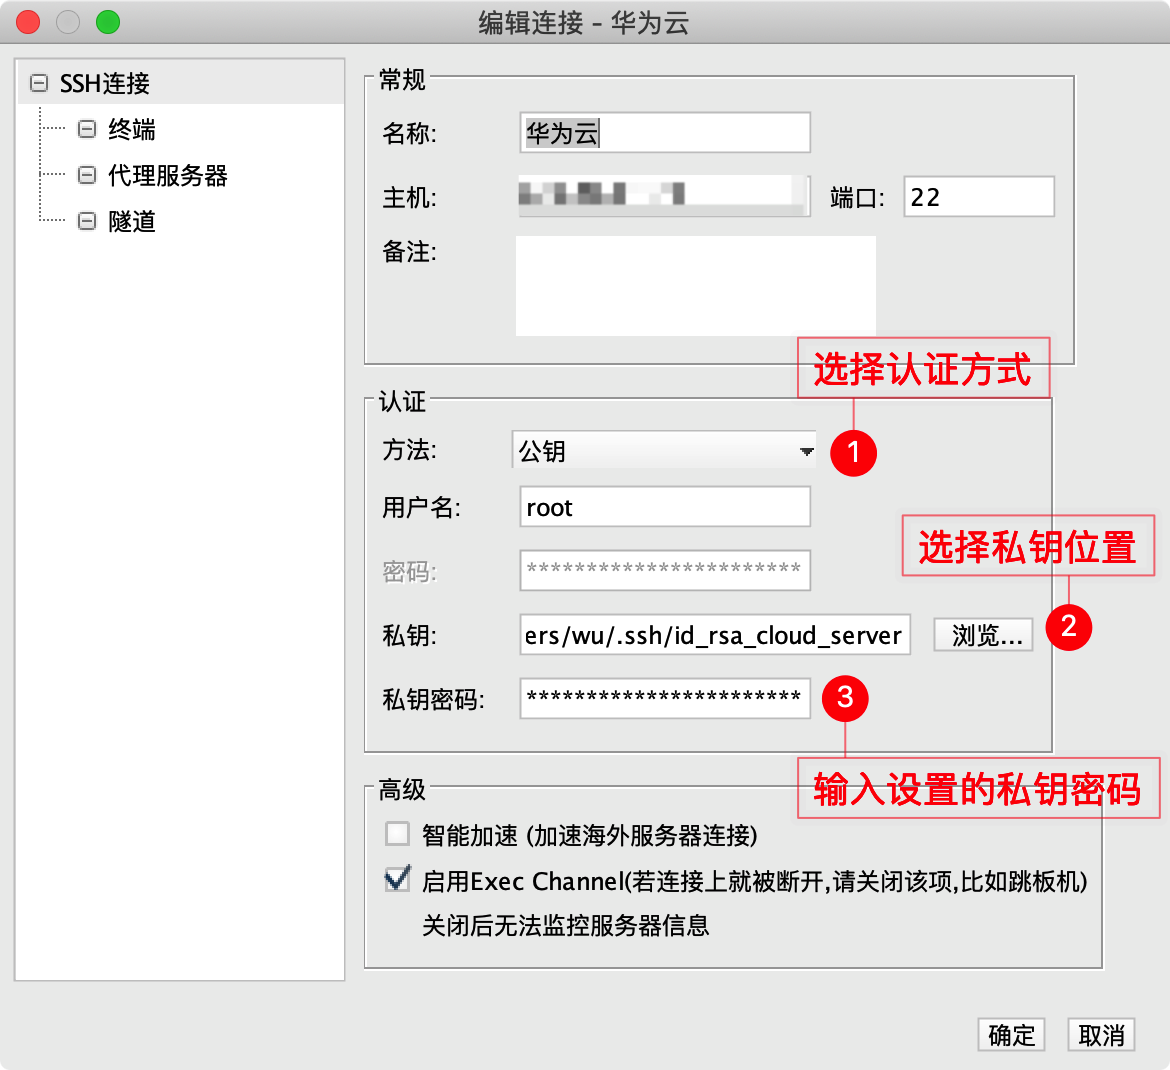
我这里用的是 FinalShell SSH工具
6. 修改 /etc/ssh/sshd_config 文件,重启 sshd 服务
测试可以密钥登录后,将 PasswordAuthentication yes 修改成 PasswordAuthentication no

7. FinalShell SSH工具